Print Guide

how to 3D print RC airplanes

Our models come with fully configured PrusaSlicer print files (walls, layers, layer heights, etc.)  for every part. You just need to select your own 3D printer and filament and slice and print them!
OR
You can use other slicers ( .STL files included), but you must set the print settings yourself by referencing ours in PrusaSlicer. Most parts simply print in vase mode. Some parts require bottom layers or different layer heights. 

LW-PLa TEST print

Before printing the first part with LW-PLA, it is recommended to run a test print. Make sure the wall thickness is between 0.55 – 0.65 mm and bridging works.  

(open in PrusaSlicer)

After printing, measure the wall thickness with a caliper. Wall thickness depends on both “nozzle temperature” and “extrusion multiplier”.

– If under-extruded (too thin): increase “nozzle temperature” first.

– If over-extruded (too thick): decrease the extrusion multiplier (flow rate).

Also monitor bridging performance closely, because too high temperature can worsen bridging.

– If bridging fails, lower the temperature and may increase the extrusion multiplier (flow rate) slightly to compensate, only if necessary or you can play with “Bridge Flow Ratio”.

Once you find the correct settings for your own LW-PLA, save them as your custom filament profile!

...and Just slice our prepared print files, export gcodes and print

Recommended Filaments
LW-PLA may seem expensive, but it foams and expands during printing, so one spool produces 2–2.5x more printed volume than normal PLA. So 1 kg LW-PLA equals more then 2 kg normal PLA.
eSUN LW-PLA
Sunlu PETG
eSUN LW-TPU
3D Printer & Filament Dryer
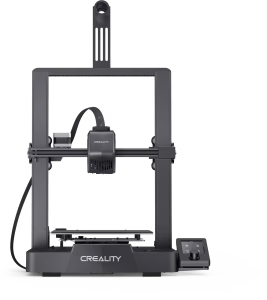
Creality Ender 3 V3 SE

Low-cost beginner printer with auto bed leveling, and solid print quality, dual Z-axis, and direct-drive extruder.
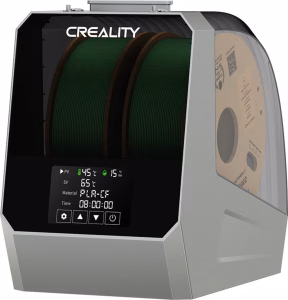
Creality Space Pi

Dual-spool filament dryer, improving 3D print quality and consistency.